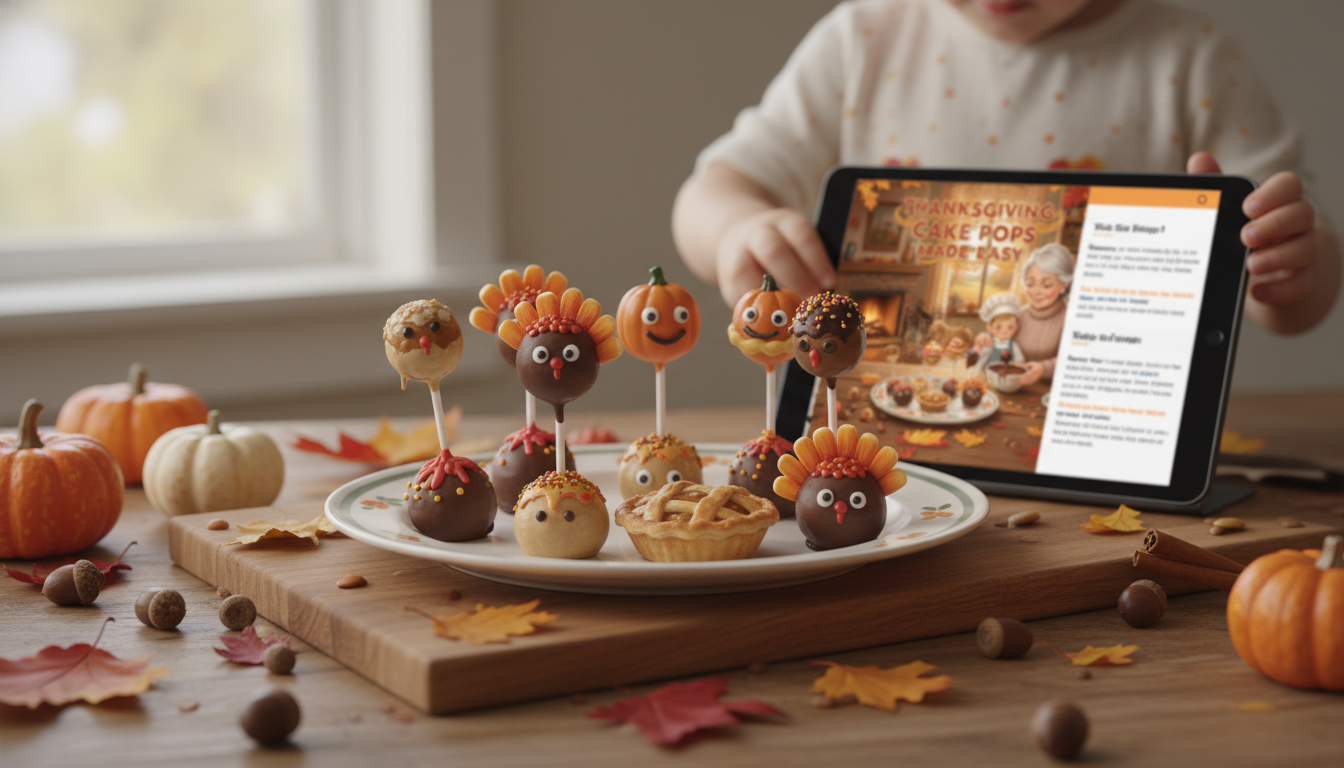
Thanksgiving cake pops turn classic fall flavors into bite-size desserts that travel well, look impressive on a platter, and are simple to batch-prep ahead of guests arriving. The process stays beginner-friendly when you break it into four repeatable stages: mix, shape, dip, and decorate. Once you’ve got the basic method down, you can create turkeys, pumpkins, leaves, and cozy autumn color themes using just sprinkles, drizzle, and a couple of candy colors—no advanced piping skills needed.
Keep the setup small and practical. Cake pops don’t require specialty equipment, but a few tools make consistency (and clean dipping) much easier.
| Category | Beginner pick | Optional upgrade |
|---|---|---|
| Coating | Candy melts | Tempered chocolate or high-quality couverture |
| Sticks | Standard lollipop sticks | Paper straws for a rustic look (heavier pops need support) |
| Decor | Fall sprinkles + mini confetti | Edible markers, wafer paper leaves, luster dust |
| Setup | Parchment + foam block | Dedicated cake pop stand + dipping tools |
Base options: Use baked cake plus frosting, or mix leftover cake crumbs with a binder. Start with less binder than you think you need; you can always add more.
Coating options: Candy melts are the most forgiving because they set reliably without tempering. Chocolate tastes richer but is more sensitive to heat and cooling swings.
Flavor ideas for fall: Pumpkin spice, cinnamon apple, maple, pecan, chocolate, or vanilla with warm spices. Even a standard vanilla cake can become “Thanksgiving” with cinnamon, nutmeg, and a touch of maple.
Color palettes: Burnt orange, deep red, tan, dark brown, and gold accents (sprinkles or luster dust) read festive without looking overly bright.
Crumble the cake as finely as possible before adding frosting or binder. Fine crumbs mix evenly, which means fewer soft pockets that can cause sliding or misshapen pops.
The right texture holds together when squeezed but doesn’t feel wet, greasy, or paste-like. If the mixture looks shiny or feels oily, it’s usually over-binded.
A cookie scoop helps keep sizes uniform so dipping is predictable. If you want extra consistency, weigh portions (even a simple kitchen scale helps), then roll with light pressure until smooth.
Chill just until firm—long enough to hold shape, not so long that the centers are icy cold. Over-freezing right before dipping increases cracking later.
Dip the stick tip into melted coating, then insert it into the cake ball. This creates a set “plug” that helps prevent the pop from falling off during dipping.
Clean dipping is mostly about two things: coating consistency and temperature contrast.
For technique guidance on working with coatings, candy melts, and chocolate handling, King Arthur Baking is a dependable reference for baking methods and troubleshooting: https://www.kingarthurbaking.com/.
| When | Task | Notes |
|---|---|---|
| 2–3 days before | Bake cake and cool fully | Wrap well to prevent drying out |
| 1–2 days before | Crumble, mix, portion, roll, and chill | Aim for uniform size for easier dipping |
| Day of (or night before) | Dip, decorate, and set upright | Decorate immediately while coating is tacky |
| Before serving | Arrange and label flavors | Keep away from heat sources |
Storage tip: Condensation is the enemy of a smooth finish. Keep temperature changes gradual when moving pops in and out of the fridge. For food safety basics (especially when desserts include dairy-based frostings), follow reputable guidance like USDA FSIS refrigeration recommendations: https://www.fsis.usda.gov/food-safety/safe-food-handling-and-preparation/food-safety-basics/refrigeration-and-food-safety and the FDA’s overview of foodborne illness prevention: https://www.fda.gov/food/consumers/what-you-need-know-about-foodborne-illnesses.
If you want a streamlined plan for flavors, batching, and decoration sets, the Thanksgiving Cake Pops Made Easy (digital download) includes beginner-friendly instructions and themed design guidance built to reduce trial-and-error. To round out the celebration after dessert, Creative Games and Challenges for Thanksgiving adds ready-to-use ideas for family tables, friends, or virtual gatherings.
Yes—make the cake mixture and roll the balls 1–2 days ahead, then dip and decorate closer to serving. To prevent condensation, avoid sudden temperature changes when moving pops between the fridge and room temperature.
Cracking usually comes from a big temperature difference between a very cold cake ball and warm coating. Let chilled balls sit out a few minutes before dipping, and keep the coating fluid without overheating it.
Candy melts are typically easiest because they set reliably and don’t require tempering. Chocolate tastes richer, but it’s more sensitive to temperature and handling during dipping.


Leave a comment